
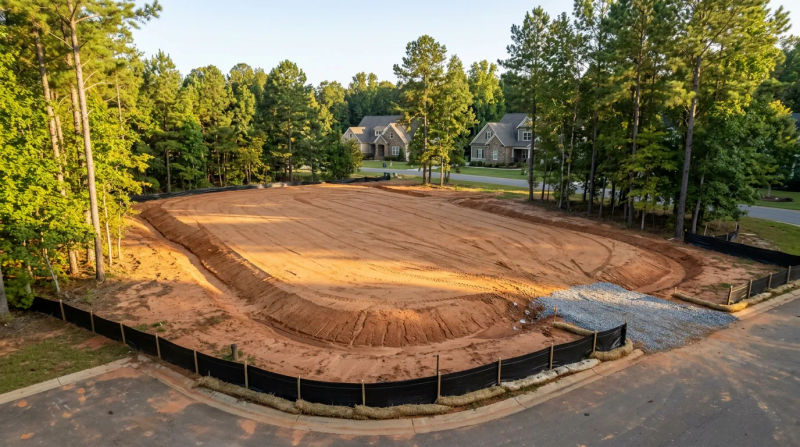
My name is Derek Langston, and as a foreman for LRC Excavating and Grading, I’ve seen my share of challenging job sites. But every so often, a project comes along that really puts our team’s experience to the test. That was the case this past September with a homeowner in a classic Durham neighborhood, full of those beautiful 1950s brick ranch homes. They were planning a new detached garage and workshop, a project they were incredibly excited about. The only problem? The weather.
Late hurricane season had just rolled through, dumping inches of rain over several days. The spot they’d chosen for their new building pad was a low-lying area in their backyard that had turned into a soupy, saturated mess. They were on a tight schedule with their builder and were worried the project would be delayed for weeks, or even months, waiting for the ground to dry out. They called LRC Excavating and Grading looking not just for a crew, but for a solution. They needed expert Durham site prep, and they needed it on a site that looked more like a swamp than a construction zone.
The Assessment
When I arrived on site, the challenge was immediately clear. The ground squished under my boots with every step. This wasn't just surface moisture; the red clay Durham is famous for was completely saturated. In the excavation world, we have a name for this problem: construction site prep wet clay. It’s one of the trickiest situations we face.
If you try to work wet clay, a few bad things happen:
- It doesn't compact: Trying to grade and compact saturated soil is like trying to stack soup. It just moves around. You can’t achieve the stable, load-bearing base a foundation requires.
- You make a bigger mess: Heavy equipment will sink, creating deep ruts that trap more water and mix the topsoil and clay into an unusable slurry.
- You can ruin the subgrade: The goal is to build on a solid subgrade. Working it while it's wet can destroy its structural integrity, leading to major foundation problems down the road.
I explained to the homeowner that rushing in with a skid steer would be a disaster. We couldn't just start digging and grading. We needed a strategic approach that worked with the site conditions, not against them. A lot of companies might have told them to wait a month. But at LRC Excavating and Grading, we pride ourselves on finding practical ways to keep projects moving forward safely. I knew we could handle it, but it would require patience and the right technique.
Our Solution
Our plan was a multi-step process focused on moisture management and precise execution. The key was to wait for a short window of dry, sunny weather, which the forecast promised in a few days. Once that window opened, my team from LRC Excavating and Grading was ready to mobilize.
Step 1: Skimming the Muck Our first move wasn't to dig down, but to carefully skim off the top 4-6 inches of the most saturated mud and organic material. We used our CAT 259D3 compact track loader for this. Its tracks distribute the machine's weight over a larger area than wheels, giving us low ground pressure and allowing us to work on the soft surface without sinking and creating deep ruts. We stockpiled this wet material on a protected part of the property where it could dry out in the sun.
Step 2: The Art of Cut and Fill Grading With the soggiest layer removed, we exposed clay that was still damp but much more workable. Now, we could begin the actual cut and fill grading Durham needed for this pad. The site had a gentle slope. Our job was to 'cut' soil from the high side and 'fill' the low side to create a perfectly level pad.
Using a combination of our excavator for the bulk digging and the track loader for spreading, we began moving earth. The critical technique here, especially with damp clay, is working in thin layers, or